To create a contact, click on 'New' on the top panel.
Once you have clicked this a new window will appear. When adding a new entity there are multiple types of contact within the 'Entity Type' drop down box. When cycling between them you will notice the questions change on each one. For example when choosing Company you only have one question but when adding a person there are more. Make sure you select the type relevant to what you require the entity to be, you can edit and change this later if necessary.
![]()
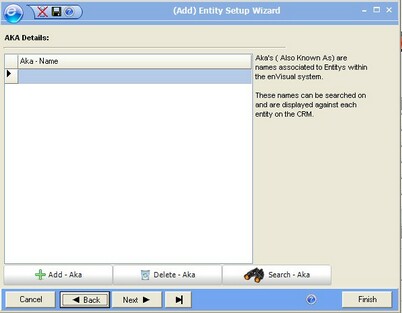
Once you have chosen which entity to add, click the arrow with 'Next' written next to it and the window will change. The following window shown below on the left gives the user the option to add aliases to the entity. Once you've pressed 'Ok' you will see the nickname on the previous screen. If you wish to add more nicknames you can. It will list all the nicknames you produce.
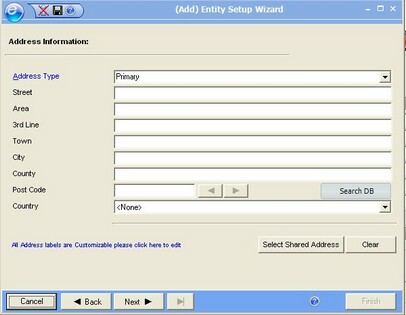
Hit 'Next' again and a list of stored addresses appears with the option to add a new address, the right window displays the fields that are recorded. All entities must have a Primary Address but you may add more than one address to an entity.
If you're starting an entity from scratch then you can fill in details about it.
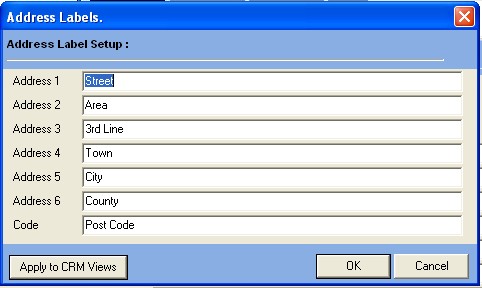
At the bottom of this window you should see a Hyperlink saying: 'All Address labels are Customizable please click here to edit'.
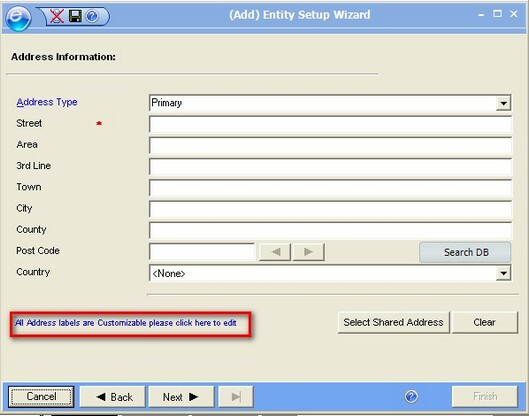
When you click on this link this allows you to customize the address labels to how you want them. Because we all live in different areas and have different codes, places etc. using this window makes it easier for you to find an entity:
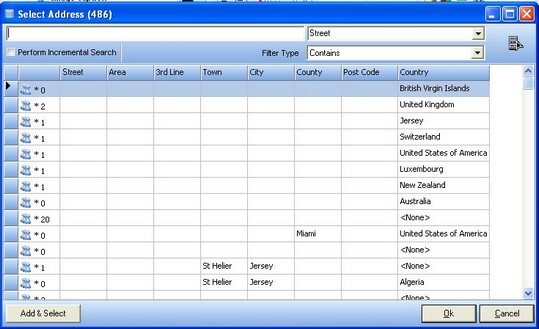
However if you already have the same address for the entity you are saving then click select and a different window will appear.
If you only know the postcode or some of the address, type it into the top bar and press the drop down menu next to the bar and select the appropriate option to what you have just typed.
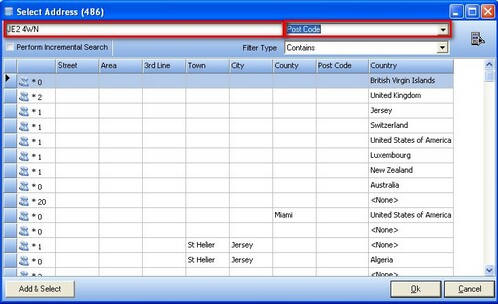
Once you have selected your information, press 'Ok.' This window will disappear and the original one you had up before will be there but with more information than last time.
Again click the button 'Next' with the arrow. On this window you should see more information that you need to enter about the entity. Fill in the boxes with the additional information about your entity.
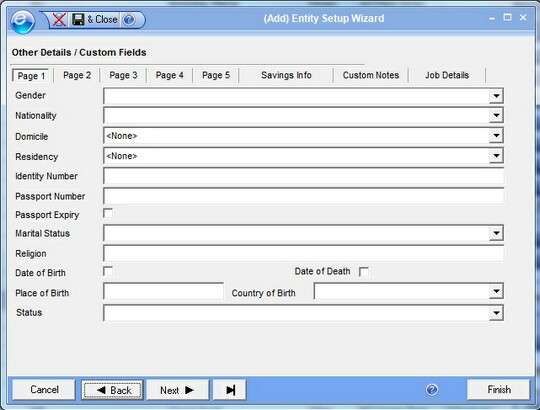
The information you are entering about this contact is recorded and kept even after they die or sell out. If you do not want to put anything in the 'Date of Birth' and 'Date of Death' box then leave it blank. If you wish to put the 'Date of Birth' of the person then click the box select their birthday.
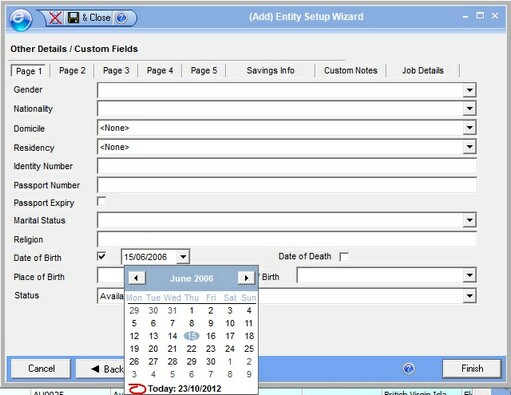
If you would also like to add 'Date of Death', click the box and select the date.
The Custom Note tab can be used to leave a custom note relating to the entity that is been added. To add a custom note, press the add button, which will display a wizard below.

Leave the entity field blank, complete other necessary details as required and press ok.
This should now add and display the custom note as shown below
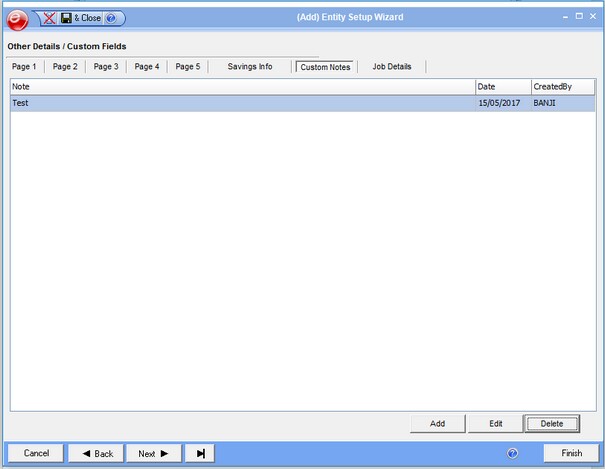
Note: It is also possible to add a custom note for a different entity using the add wizard. To do this, ensure the entity is selected first in the entity field, complete necessary details and press ok. Once a different entity has been selected, the custom note added will not be displayed, this is because it is for a different entity. To view the custom note, user will have to access the entity first from CRM and then right click, select entity details > edit entity > custom details and then custom note.
Custom note can be edited by selecting the custom note first and then press the edit button which will load up the custom wizard. The delete button can be used to remove a custom note that is needed anymore
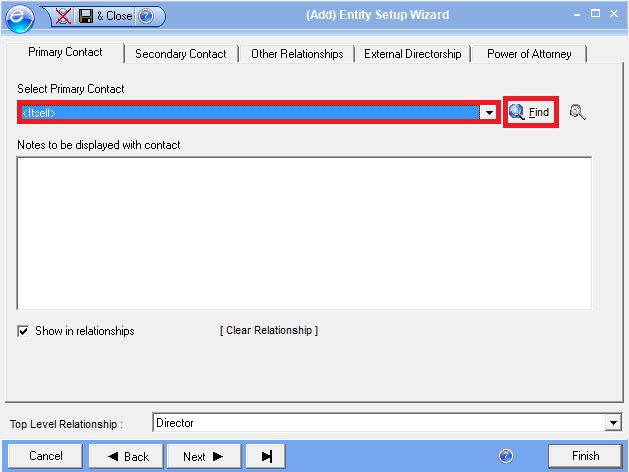
After doing this click the 'Next' button with the arrow. A different layout will appear saying 'Select Primary Contact.' Your primary entity can either be an existing entity on the system or the entity that you are currently adding.
Press the drop down menu where it says '<Itself>' and select your primary entity or you can find the entity using the GES or Find button.
 o
o
The box underneath is where you add more additional information about your 'Primary Contact'. In this box you could put something like: ' Need to call this company or person first.'
Adding to this window are tabs at the top. 'Secondary Contact' is the entity that if you can not get hold of your 'Primary Contact' you call this one. Just follow the same instructions as 'Primary Contact' except remember this is the second contact you will phone.
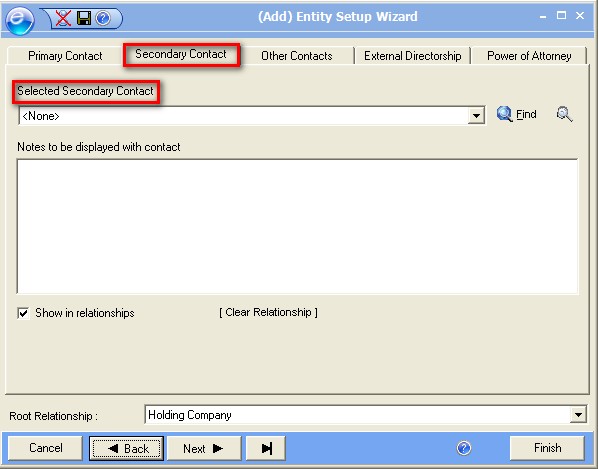
If you notice in the corner a ticked box and 'Show in Relationship' this simply shows a link between a company and the role of an entity. It also creates a link between the entities that can then be view in the relationship tree.
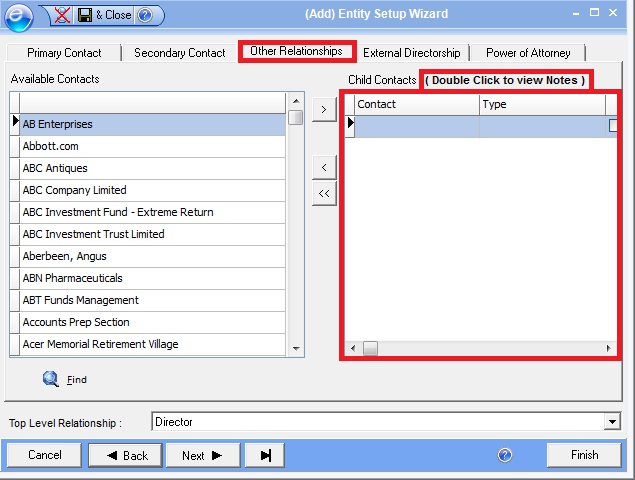
The third tab on the top is just for if you wish to add more information about other entities. Simply click another entity you would like to add to your present and press one of the arrows. If you wonder what another entity is, double click it to see notes on that entity.
| • |  |
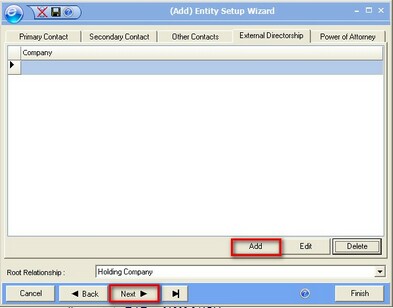
The fourth tab allows the addition of the Company Name if External Directorship exists. The final tab Power of Attorney allows the addition of Companies who hold a Power of Attorney.
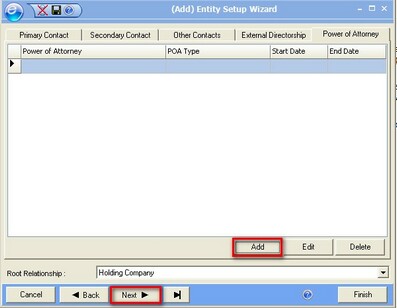
Clicking on the Add button within Power of Attorney will open the following search window. The company can be added using the search utility or a new entity wizard can be started.
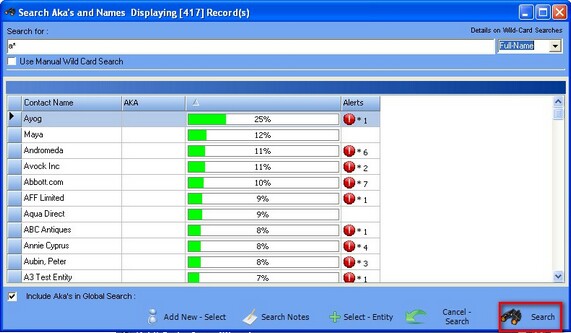
When the entity is selected the POA Type is selected from the drop down box and selected by clicking OK.
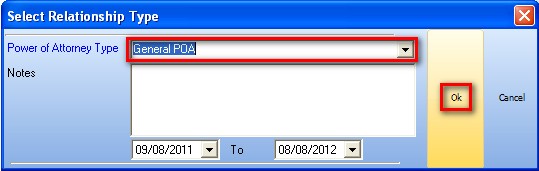
Clicking the Ok button populates the previous screen shown above right.
Click the 'Next' button with the arrow. Again the window will change. This window is the 'Category Set-UP'. In this window you get to add certain roles to the entity. This makes it easier to search for an entity.
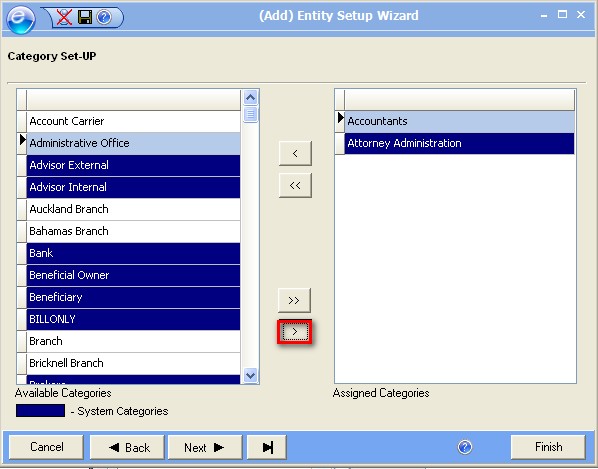
To add a role to the entity, simply click on the job you wish to add and click the single arrow pointing to the opposite empty box.
|
Once you have clicked 'next' the window will change to 'Security Set-UP'. This basically means that only certain people that you allow, can see the entity.
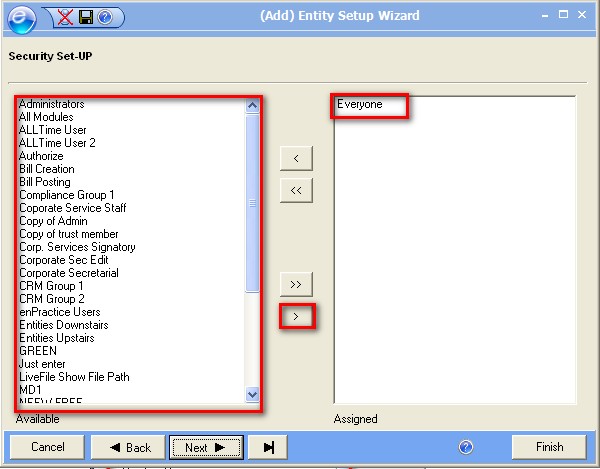
The box on the right hand side is the group of user that can see the entity. To assign a group to the entity, select the group (or groups) you would like to assign to your entity and press the single arrow pointing right. This means no one can see this entity unless they are a member of that group.
Now press 'Next'. The window changes to 'Contact Communications'. This is where you can add different ways of contacting your entity. Simply click the 'Add' button to add a form of communication.
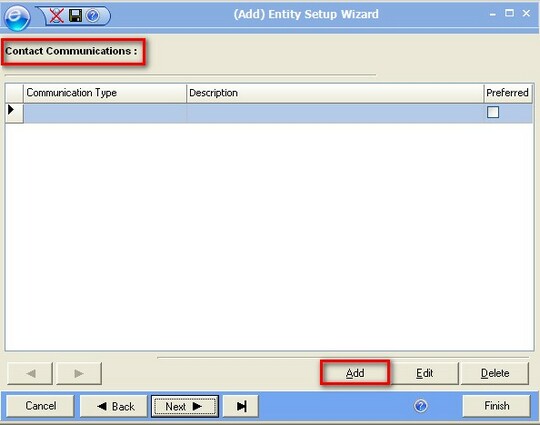
Once you have pressed 'Add' the window will change. This is where you enter any other forms of entity for your entity. Press the arrow on the drop down menu where it says 'Email' and choose the form of entity you would like to use.
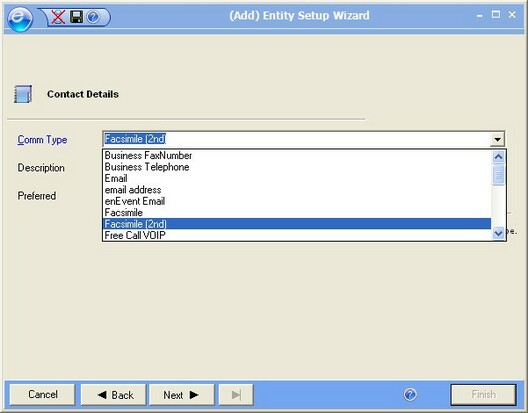
Once you have chosen your form of entity, type in either email address, mobile number, home number etc. press 'Next'. The detail you have just entered will appear on the previous screen you saw. You can now add more entity information if you like.
Entity Checklist
The Next screen allows entity types to be attached to the Entity.
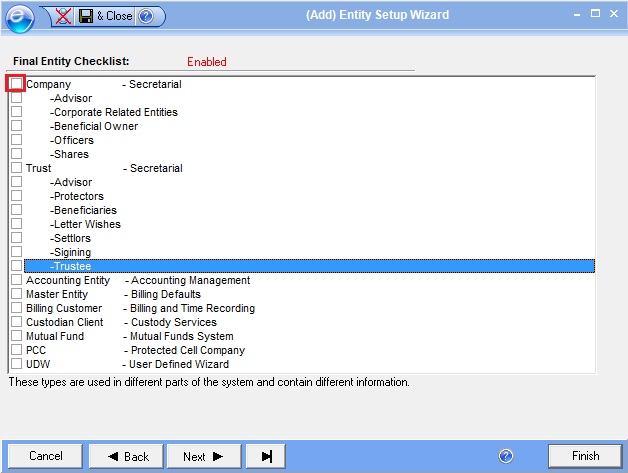
If none of the boxes are checked, clicking the 'Next' button takes you to the Entity Wizard Completion screen. For each box checked an additional screen becomes available where additional details can be stored.
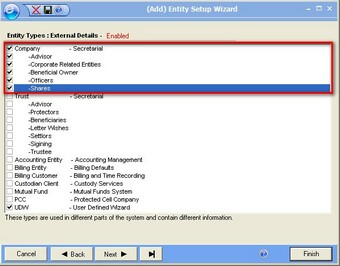
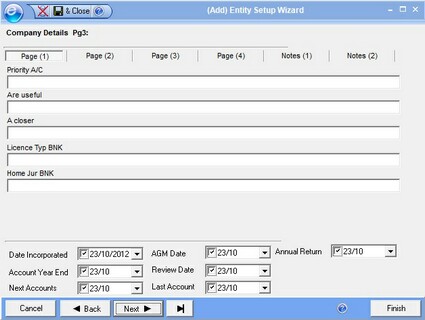
When Selecting the Company option the following screens are available.
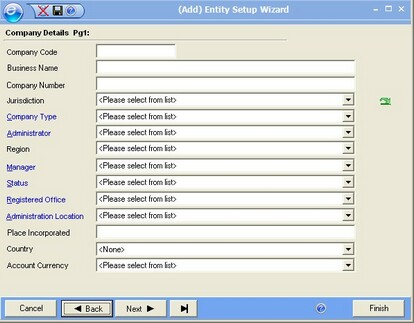
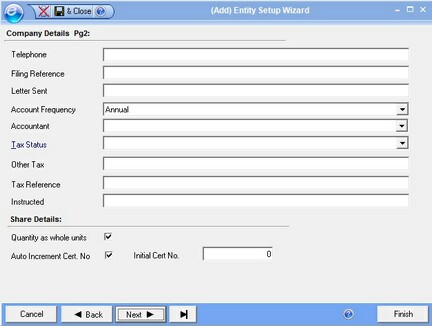
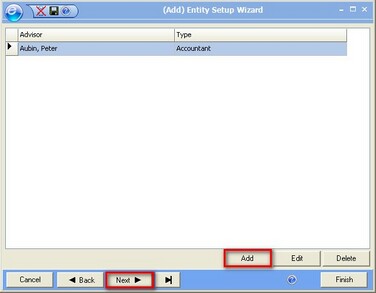
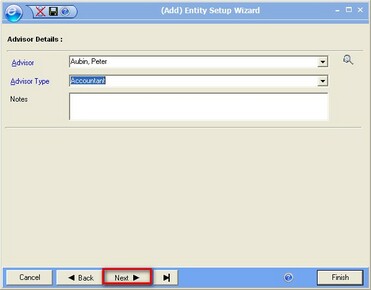
The next optional screen displays a list of the Company advisor's, hitting 'Add' on the list screen opens the right hand screen for data entry and hitting 'Next' on the completion of Data entry returns to the list view.
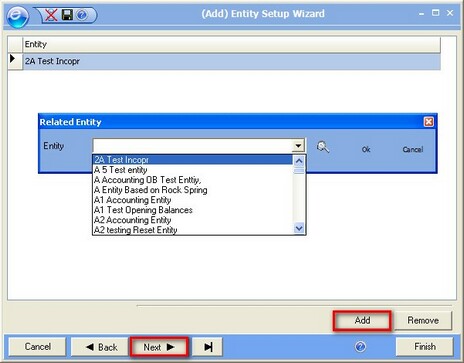
Optionally on 'Next' Corporate Related Entities can be recorded. Hitting 'Add' on the list screen opens the screen for data entry where an entity can be selected from the drop down and hitting 'Next' on the completion of Data entry returns to the list view.
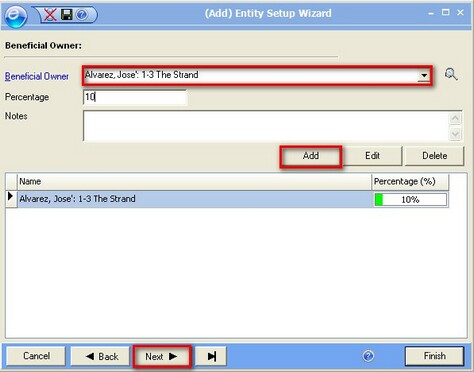
Optionally on 'Next' Beneficial Owners can be recorded. Search by the drop down list and then Hit 'Add' to display on the list. Hitting 'Next' moves on to the next optional screen.
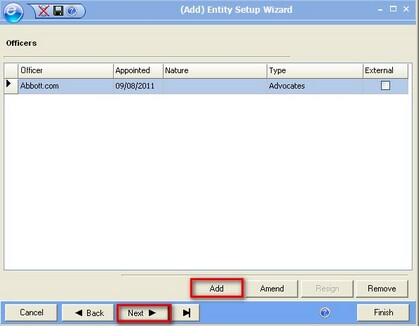
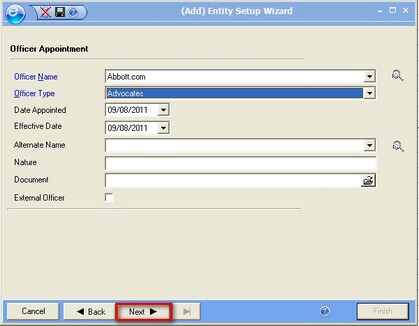
The next optional screen displays a list of the Company Officers, hitting 'Add' on the list screen opens the right hand screen for data entry and hitting 'Next' on the completion of Data entry returns to the list view.
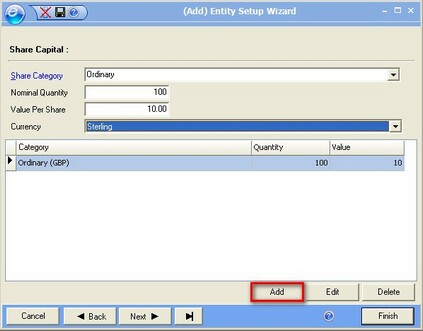
Optionally on 'Next' Share Capital can be recorded. Select the Share Category from the drop down list and enter the quantity, value and currency of the share; then Hit 'Add' to display on the list. Hitting 'Next' moves on to the next optional screen.
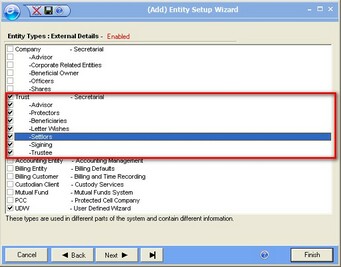
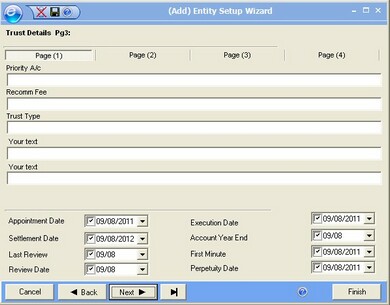
Trust
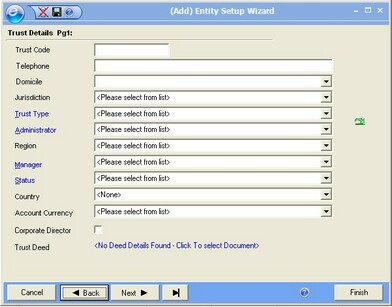
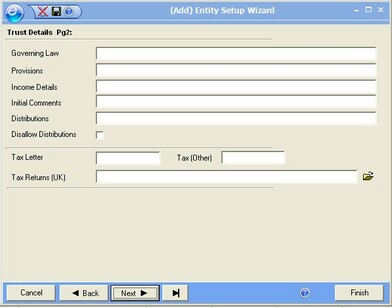
The first three screens look at the Trust - Secretarial - for the most part utilizing drop downs to populate the field entries.
The next optional screen displays a list of the Trust advisor's, hitting 'Add' on the list screen opens the right hand screen for data entry and hitting 'Next' on the completion of Data entry returns to the list view.
Optionally on 'Next' Protectors can be recorded. Clicking 'Add' on the list screen opens the screen for data entry where an entity can be selected from the drop down and hitting 'Next' on the completion of Data entry returns to the list view.

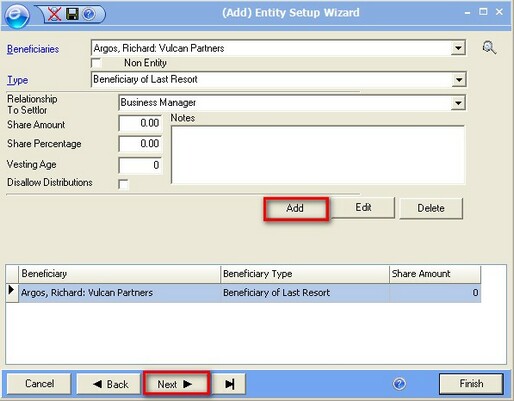
The next optional screen displays a list of the Trust Beneficiaries, New Beneficiaries can be recorded and then added to the list via the 'Add' button Click 'Next' on the completion of Data entry to continue.
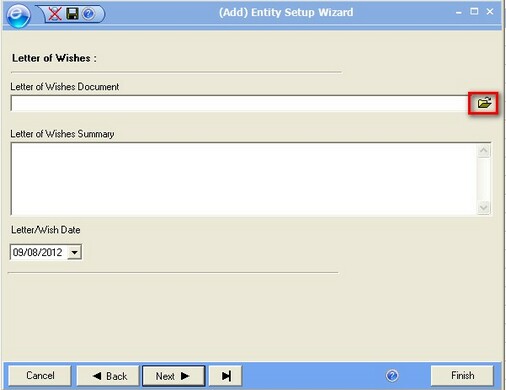
The next optional screen is entitled Letter of Wishes, it displays the path to the Document, selected by the Folder button and can record a summary for review.
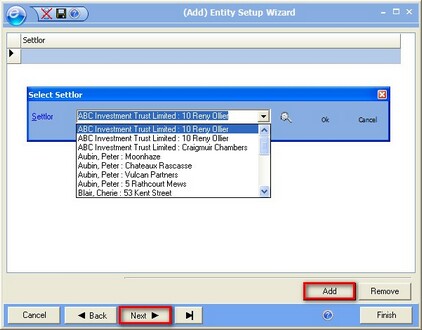
Optionally on 'Next' The Settlor can be recorded. Clicking 'Add' on the list screen opens the screen for data entry where an entity can be selected from the drop down and hitting 'Next' on the completion of Data entry returns to the list view. Clicking 'Next' again opens the right hand screen asking the administrator to check all documents.

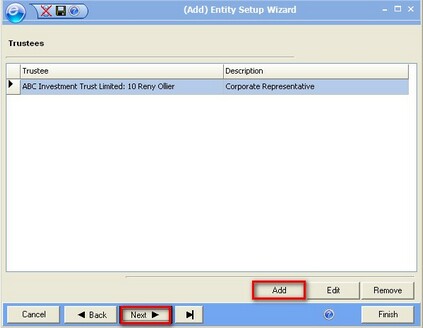
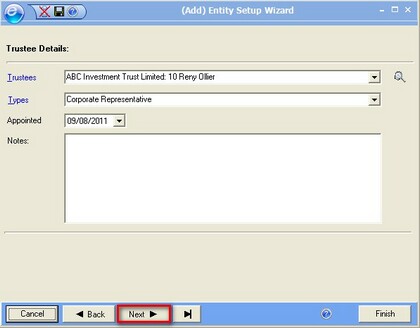
The next optional screen displays a list of the Company Trustees, hitting 'Add' on the list screen opens the right hand screen for data entry and hitting 'Next' on the completion of Data entry returns to the list view.
This is your last window on 'Adding Entity'. Just click' finish' and you're done.