Before starting a new installation, ensure that any previous versions of the product are removed using the standard windows Add/Remove programs function.
The installation comprises 2 files.
Setup.exe
enVisual-4.msi
To start the installation run, the setup.exe file.
Pre-Requisites
The enVisual product requires DOTNET framework version 2.0 and windows installer 3.1 minimum to be installed. If these are not installed then the installer will attempt to connect to the internet and download and install these packages. Please follow any on screen instructions.
Following checking of pre-requisites, and subsequent installation and configuration the installation of the application will continue.
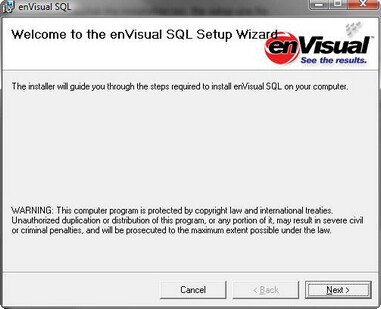
Clicking the cancel button at anytime will halt and cancel installation. Click the next button on the welcome screen.
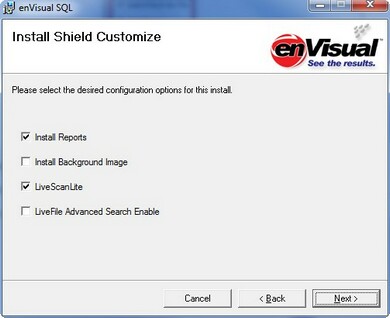
Next select the desired configuration options. Note, not all options may be available dependant on which enVisual version you are installing.
Install reports
This will install a copy of the reports files locally. (enVisual supports centralised network reports)
Install Background Image
This will display the enVisual logo in the MDI workspace.
LiveScanLite
This will install LiveScanLite with enVisual.
LiveFile Advanced Search Enable
This will enable the LiveFile advanced search option in enVisual
*This can be left set at default for a standard installation.
Click the next button to continue.
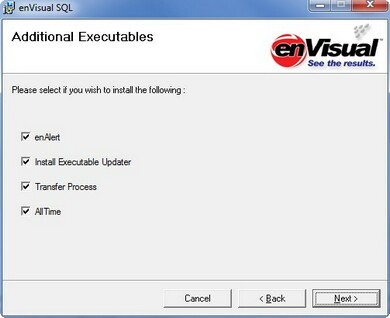
Select the required product options.
Please Note: enVisual has the ability to store and deploy updated binary files, checking the 'Install Executable Updater’ option will also enable the product to update it’s own executables, including the main application executable.
Click the next button to continue.
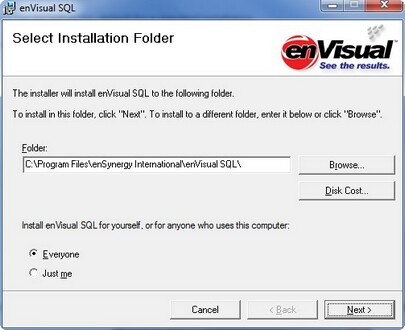
The installer will disappear for a few seconds while the installation is configured. Then you will be prompted for the installation path.
*This can be left as the default for a standard installation.
Click the next button to continue.
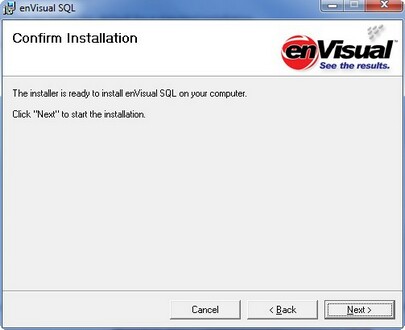
Finally you will be prompted to confirm installation. Click the next button to start the installation process.
Dependant on hardware and processor load installation could take a few minutes. When the installation process is complete a message will be displayed.
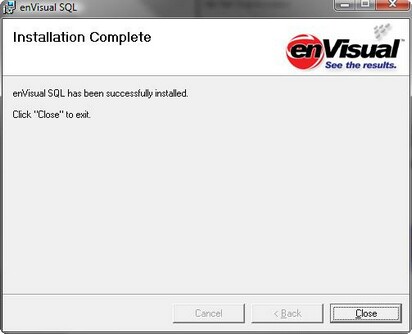
Click the close button to complete the installation process.