EnVisual Menu > Clients > Comms
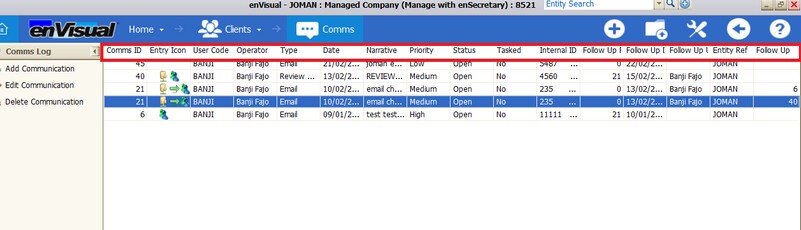
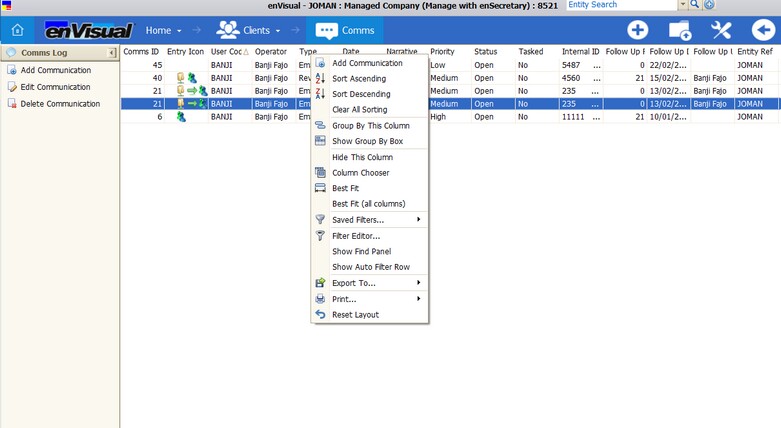
The Comms Log is used to view all communications made within envisual to the contacts. These communications can be in the form of emails, phone calls or letters. The Comms Log will list and display all the Comms that has been added by all different users for the entity selected. This section can be controlled by security which can be set at Settings > Security > System Security > Clients > Comms Log. Note: When the Comms menu is accessed with no entity/client selected, user will be prompted to select one. The Comms Log grid is shown below. Additional information can be displayed on the grid using the Filter Right Click Menu > Column Chooser. More about grid filters can be found in Filters.
Adding Communication
The Add Communication option is used to add a new communication to the system, when the user clicks this button, they will be presented with the screen for adding Comm. This can be done either from the My Communication from home page or from clients > Comms, which ever way will display similar view and process. User can then either right click and select the add communication or by pressing the add communication on the left to display the add comm wizard
![]()
The following details can be completed when adding a Comm: Details, Narrative, Attached Files and Associated Entity.
Details Page
This contains details about the communication been added, they include:
Entity: This is the entity that the communication is made to, to select an entity, the user can use the drop down menu to locate the desired entity.
Internal ID: This field is for any internal reference for the comm entity.
Follow-up: This field is used to follow up a comm to an existing comm for an entity. To have a follow up, there has to be an existing comm that needs to be followed up. Once selected, will then enable the follow up date/user field. All follow up can then be viewed by right clicking and selecting View Communication Thread.
Comm Type: The Comm Type field is used to selected the communication method that is being used such as telephone, email, etc. Additional comm type that is not listed in the dropdown can be added in Configure > Maintenance > enCentral > Comms Log Types.
User: This is who is responsible for the comm. All active envisual users are displayed in the dropdown.
Open Date/Time: The Open Date and Open Time fields are used to set when the communication entry was created, these details are defaulted to when the user clicks the add communication button. The Open Date and Open Time fields can be changed by the user to a different time and date as necessary.
Duration: The Duration is the length of time spent on the communication, this timer will start the moment that the user clicks the add communication button and will run until the user clicks the Add - Comms Entry button. During adding Comm, user can pause the duration as required and then resume when wish.
When the communication window is used to edit a communication entry, the duration timer will not continue to count, it will be paused, user can then resume if they wish.
Opportunity: This enable an opportunity to be added for the comm if it has one.
Process: this field will be displayed if the entity selected has one and can be used to select the right process required.
Status: The Status flag is simply to mark if the communication entry is open, this can be used for reporting purposes. 2 available options are open and closed.
Priority: This is to flag how important is the communication. This can be low, medium and high.
Follow Up Date/User: these fields are used to setup when is the followup comm date and which user will be responsible for it.
Private (Tick Box): This is to be used when a communication needs to be private. When ticked, will add a right tab to the wizard and when unticked, will remove the right tab from the wizard.
NOTE: If the private tick box is selected without a user workgroup ticked. The comm will be hidden and will only be visible to the user who ticked the private tick box. This can then be extended to other work group as required to view as well by ticking the relevant work groups.
Narrative Page
The Narrative tab can be used by user to enter any notes or description about the communication entry.
![]()
Attached files
The Attached files tab can be used to attach any files and document to the communication entry. To attach a file, the user can either right click and select the Attach file(s) or by pressing the attach button, this will open a standard file browser window where the user can browse for the desired file. Once a file has been attached, the user can view the file by selecting the file in the list and then right clicking the Open eCopy button. User can remove an attached file by selecting the file and then either right clicking the Remove file(s) or by pressing the remove button. User can also drag column to the space provided in the wizard to group by that column.
![]()
Associated Entity
This tab can be used to add an entity to the comm that is been added for the selected entity. This can be used to link the entities together. This can be done either by pressing the associate button or right click select associate entity, which then load up envisual GES to search for the required entity needed. Once Entities have been associated with this communications entry, they can then be either edited or removed as required, this can be done by selecting the entity and press remove button or right click and select remove entity. User can also drag column to the space provided in the wizard to group by that column.
![]()
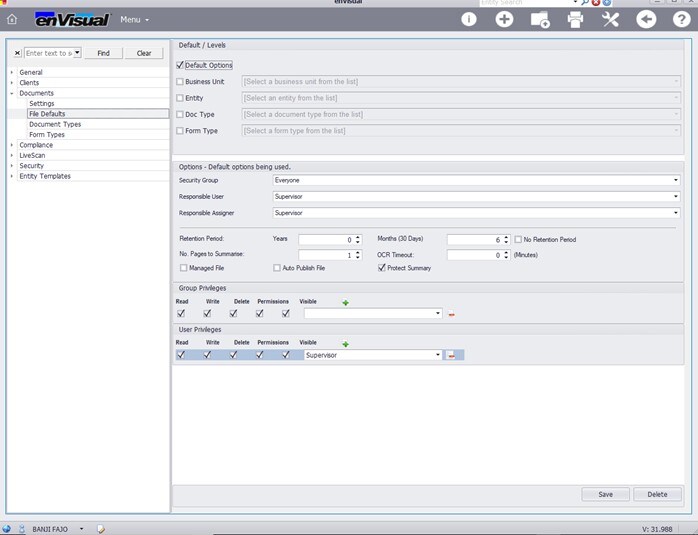
Rights Page
This page is only displayed when the private tick box on the details page has been ticked. This enable user to add rights to who can access a private communication. Below is a display of detail page when the private tick box has been ticked.
![]()
Rights Page itself is displayed as below
![]()
All available groups for the application will be displayed here, user can then select the group that will have access to this private communication by ticking the tick box.
Once all the necessary field and tabs / pages has been completed, user will need to press the save button, the add comm window will close and the communication will be added on the Communication grid
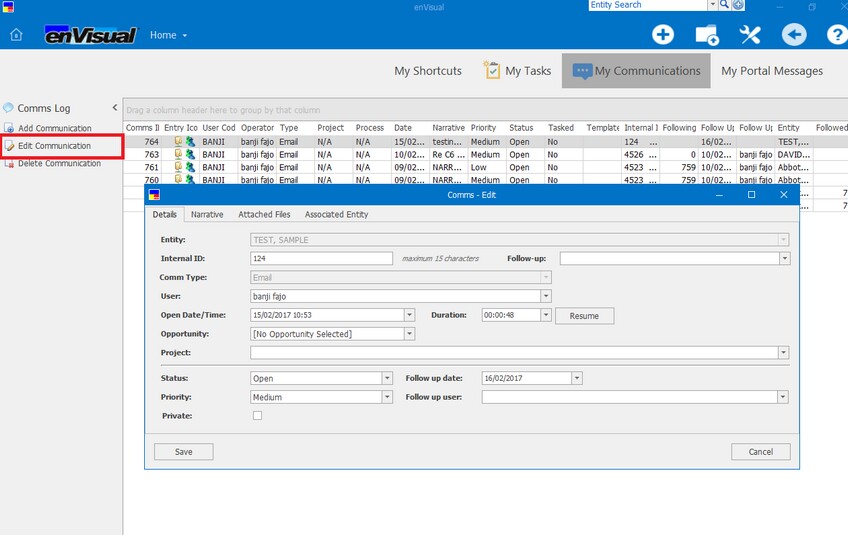
Edit Communication
When the user clicks on the Edit Communication button, they will be presented with the Edit Communication form with two differences from the add comm, firstly all the information will already be filled in, and secondly the duration timer will not be running. Before selecting the edit communication, user have to select and highlight the communication that needs viewing or editing first and then press the edit communication after. User can then resume the duration timer if they wish.
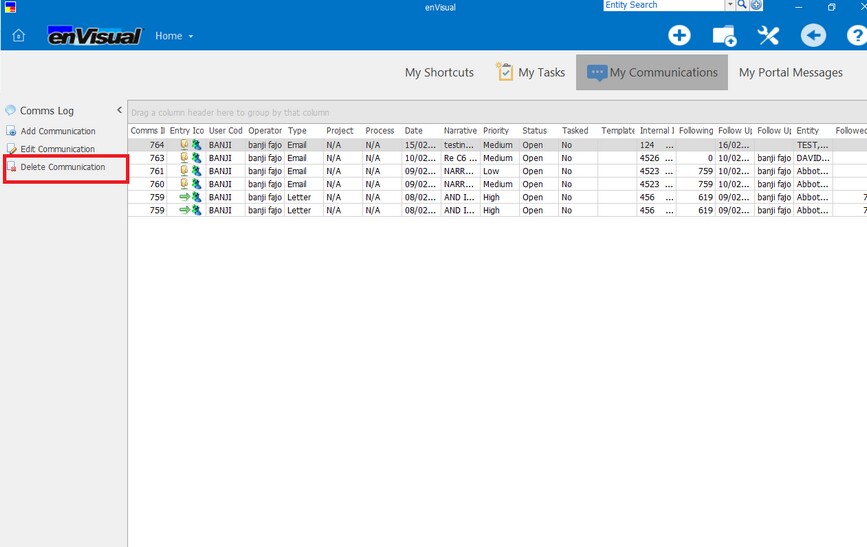
Delete Communication
The Delete simply deletes the communication entry, if the entry is a follow up then only the latest entry is deleted, and any previous entries on the same communication entry thread will be kept.
View Communication Thread
When selected will display all comms that is attached to a comm. It will list all the correspondence and user can easily view all the comm threads in a list one after the other. Comm thread are added using the follow up comm option during add. Selecting a grid, will display the details about the Comms, in section below it. Note: Deleting a Comm with a followup, will delete the original comm and break the followup links.
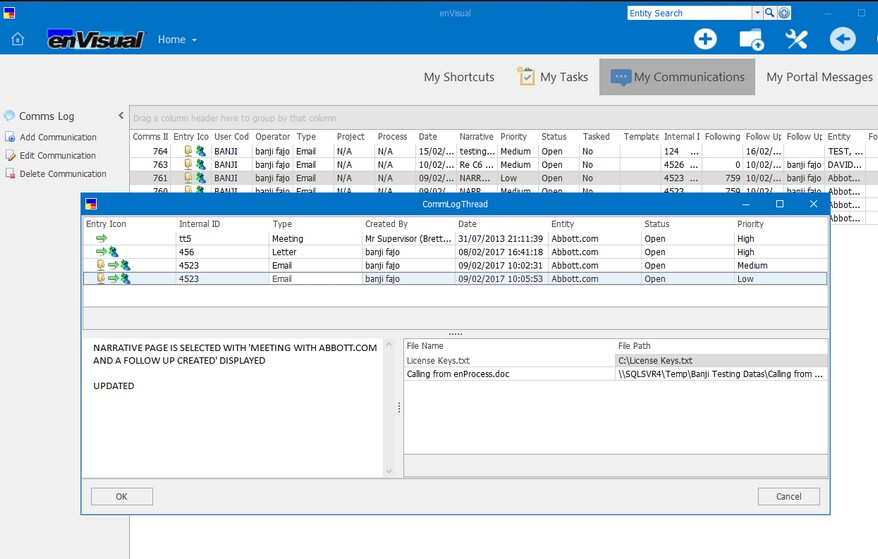
Selecting a grid, will display the details about the Comms, in section below it
Switch to Owner
This option will only work when selected at the My Communication homepage shortcut. When selected here, will only reload the page to the entity selected, which will then load the entity up in the entity bar and user can navigate to the necessary section/area of the entity. This saves user having to use the search box to search for the entity.
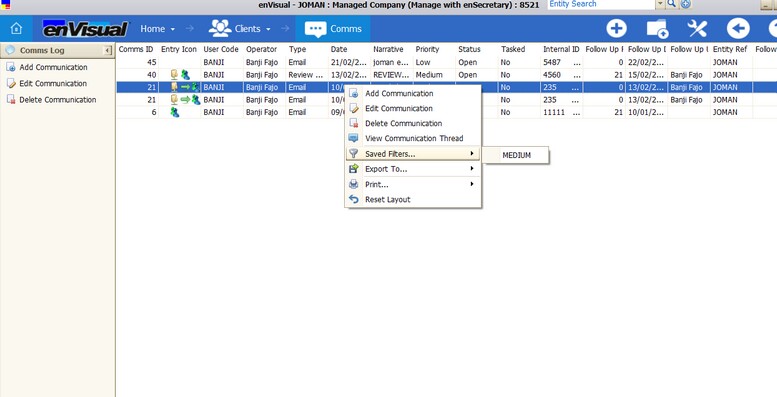
Saved Filters
This is to be used to view filters that have been saved. List of saved filters are displayed here. More information about saving can be found in enVisual 360 > Filter Options
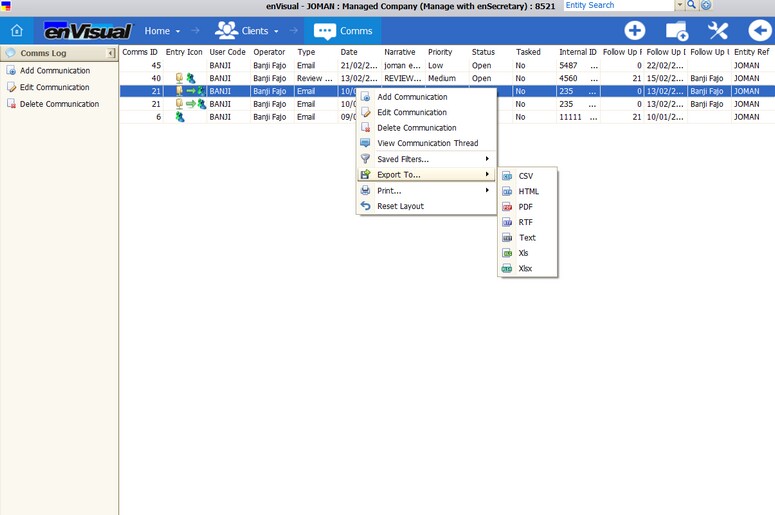
Export To
This can be used to export the detail grid view to external applications or formats from Ev360. The application supports 7 different formats which are: CSV, HTML, PDF, RTF, TEXT, XLS AND SLSX. This option is only available with the detail grid view, it is not available with the other view modes.
This is to be used to print the detail grid within Ev360

Once selected, the view will be changed to a preview and then print options becomes available.
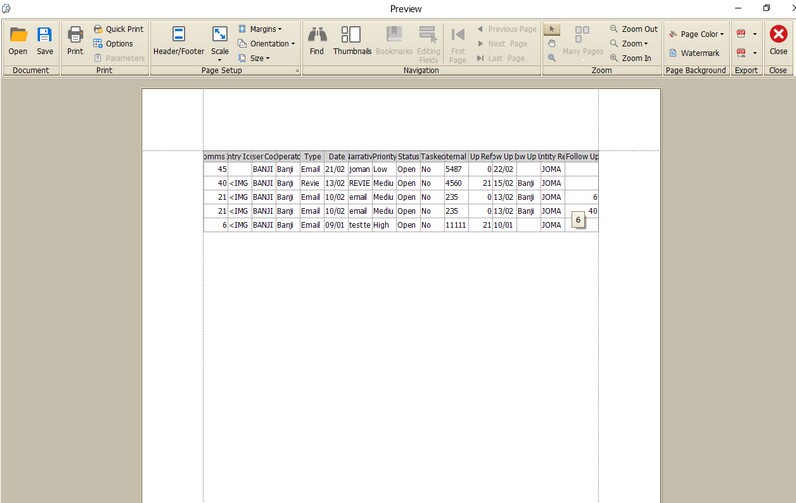
User can use the ![]() to close the window if they decide not to print anymore or once finished printing.
to close the window if they decide not to print anymore or once finished printing.
Reset Layout
This can be used to reset layout back to defaults settings after changes has been made to page or screen. These changes could be view modes and filters
Filter Options
Filter tab is found just under the menu bar.
Filter bar with right click options
Filter tabs available are: Comms ID, Date, Entity Ref, Entity Icon, Follow Up, Follow Up Reference, Follow Up User, Internal ID, Narrative, Operator, Priority, Process, Project, Status, Tasked, Template ID, Type and User Code. These can then be filtered and displayed on the homepage as desired. The last filter used will be remembered and displayed when user logs back in the application. More about filters can be found in Filter Section, filter is used same way all across Ev360.