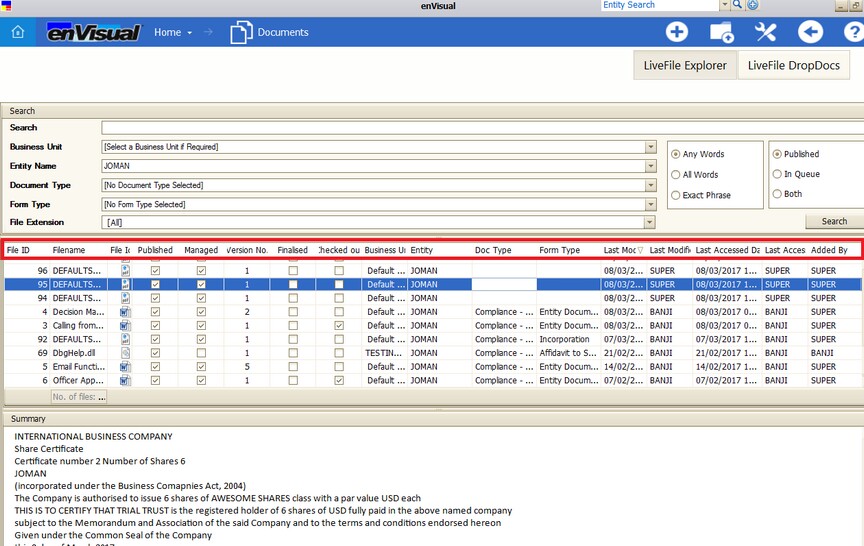
The filter options enable user to filter grids that are displayed on ev360. The filter options are the same across the ev360 application.
These filters will then be displayed on the homepage, the last filter used will be remembered and displayed when user logs back in into the application.
The filter options are found by right clicking on a filter tab on the grid,
which then display the available options below
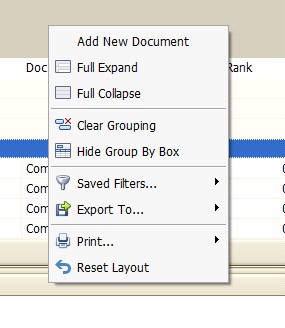
Filters Options
On each filter tab itself, 3 options are available which are: Ascending, Descending and drop down option (Custom AutoFilter).
Depending where the triangle ![]() is pointing to, can be used to filter ascending and descending order.
is pointing to, can be used to filter ascending and descending order.
The Custom AutoFilter ![]() when pressed displays below
when pressed displays below
User can then filter with these options available. The content displayed in the drop-down menu here will vary depending on the filter tab selected.
Sort Ascending and Sort Descending are also available by right clicking on a filter tab with addition of Clear Sorting and Clear All Sorting
Other Right Click Filter Options Includes:
Group By This Column.
This enable user to filter by grid columns. To use this filter option, user will have to right click on each filter tab required and choose the group by this column option. User can have many column groups as required, this will then drill down to the last one when viewing using the ![]() plus sign. User can also drill up using the
plus sign. User can also drill up using the ![]() minus sign.
minus sign.
Right click filter option is still available in the group by this column filter for the drill downs and ups. Included in this right click option are Sort Ascending, Sort Descending, Clear Sorting and Clear All Sorting.

Show/Hide Group By Box.
This enables filter to be shown by boxes, once dragged into the area. When selected, a space will be created above the filter tabs to enable boxes dragged into them. Multiple filters can be dragged into this area. Use will then use the ![]() to drill down and
to drill down and ![]() to drill up.
to drill up.
Included in the right click options available here are: Full Expand, Full Collapse and Clear Grouping.

The Hide Group Box will be used to hide the space once user finishes or use can also choose the Reset Layout to reset back to defaults.
Hide This Column
This is to be used to hide columns that are not needed on the grid or screen. User will have to right click on the filter tab that needs to be hidden, then choose the Hide This Column which will then remove the filter tab from grid. This can then be found in the Column Chooser
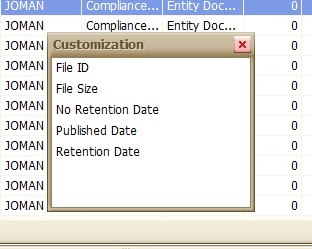
Column Chooser
This is where hidden filters are displayed. Filters that are not displayed on the grid are shown here. User can then double click on them, to make them appear on the grid. If this box is opened already, user can also drag a filter into it, filter that is not needed, rather than right clicking and selecting hide this column option. The column chooser opens with a customization box.
Best Fit
This can be used to give content in a column best fit on the screen. This apply to the column selected only. This gives the column the maximum best fit available.
Best Fit (All Columns)
When selected, this gives the whole column on the page best fits possible. This can be used to give the whole page a best fit possible.
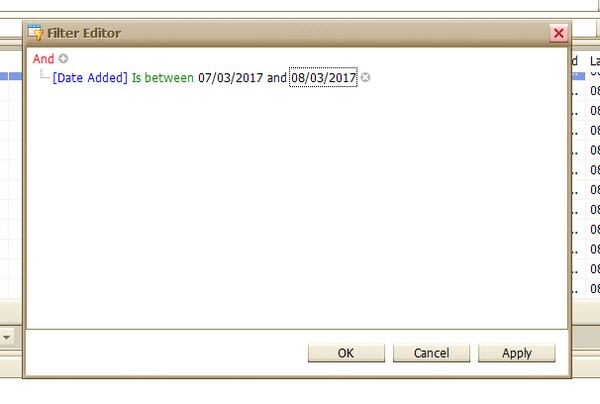
Filter Editor
When selected, will display the filter editor wizard

Which can then be filtered as required. The blue hyperlink contains all the filter field available on the application. The green hyperlink are the functions or commands available and the black hyperlink is for datas, which then varies depending on the filter field selected.
All filter fields/tabs available on LiveFile Explorer are: Added By, Business Unit, Checked Out, Date Added, Doc Type, Entity, File Icon, File ID, File Size, Filename, Finalised, Form Type, Last Accessed By, Last Accessed Date, Last Modified By, Last Modified Date, Managed, Matched On, No Retention Date, Published, Published By, Published Date, Rank, Retention Date and Version No.
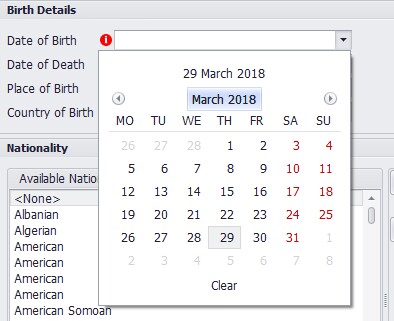
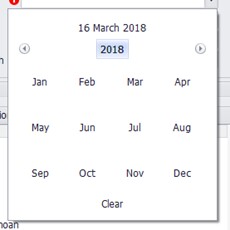
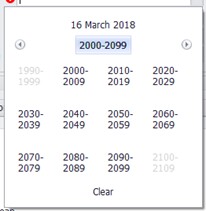
For an example if user want to search for Date Added search, right click on any filter tab or the date added filter itself to display the filter editor wizard. Ensure the blue hyperlink displays Date Added, if not, click on it to display all the options available and then select Date Added to display below

In the filter editor, ensure that the [Date Added] is displayed, followed by (Is Between), then in the enter a value, user will enter the date they want to search for here. If user just want to search for one day, e.g search for 07/03/2017 alone, user will input
This will then return a search for the 7th alone.
However, if user wants results for more than one day, e.g 7th till the 8th, then user will input
Which then return a filter result for two days. The end day column is not always included in the filter result, if user wants a result for that day, they will have to include it in the filter and then put a date that is not required as the end date.
Therefore, to make a one day filter, user will have to input two days, 2 days filter - input 3 days, 3 days filter will be 4 days and so on.
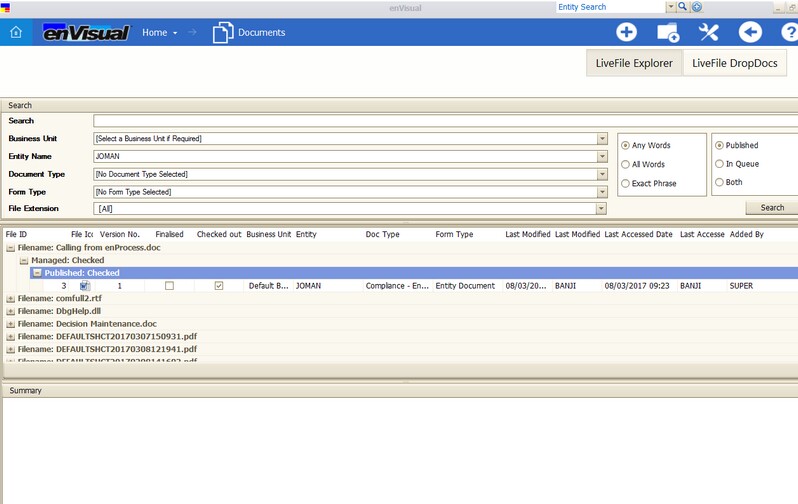
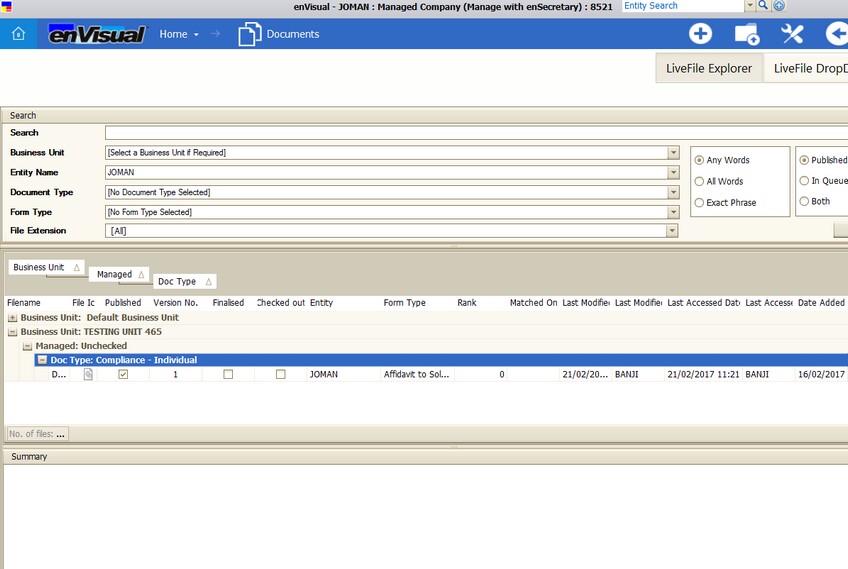
Saving Filters: Here user can save a filter that can be reused when needed. For example, if user did a filter for an entity that is frequently used, user can then save the filter and reuse it when needed, rather than doing same filter every time. To create a filter e.g entity filter, click on the blue hyperlink and select entity then click on enter value and type in entity name and then press the apply button. This will filter the grid to display the entity documents alone. To save the filter, press the ok button to close the filter editor window. Then, in the middle of the screen is displayed
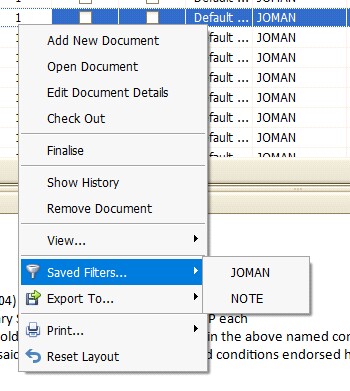
Right click on the name/link to display the right click options and select save as, which will then prompt user to name the filter and press the save button. User can also use the right click option to delete unwanted filters that are not needed anymore. This will then be removed from the saved filters list available in the right click saved filter option.
Unticking the tick box, removes the filter settings and displays more information on the grid when removed. When ticked back, will apply the filter settings. This can be very useful when user want to switch between filter and non-filter file and document.
The ![]() displays list of filter that has been done and user can easily reverts back and choose a filter that was done earlier.
displays list of filter that has been done and user can easily reverts back and choose a filter that was done earlier.
There is also an Edit Filter button  that can bring back the filter editor window for more filter edition. This is located at the middle right side of the saved filter bar
Finally, user can use the ![]() to close and remove the filter when finished.
to close and remove the filter when finished.
Saved Filters
This can be used by user to load filters that are frequently used and saved. Filters that are saved are found here and when selected will load the saved filter and display it on page.
Show / Hide Find Panel
When selected will enable user perform a search for the grid. This can be used to search for datas displayed on the grid.
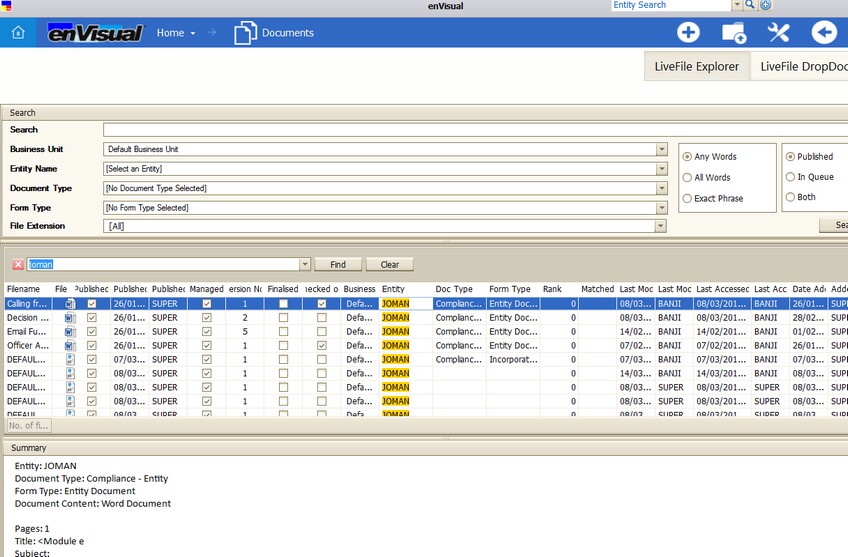
Typing into the search box will highlight the text in the grid or the find button can be used. User can also use the ![]() button to select previous searches. The clear button is to clear the search field and the
button to select previous searches. The clear button is to clear the search field and the ![]() button can be used to close the find panel or simply right click on a filter tab and select Hide Find Panel.
button can be used to close the find panel or simply right click on a filter tab and select Hide Find Panel.
Show / Hide Auto Filter Row
This is similar to find panel but grid specified. This focus more on the filter/grid selected unlike find panel which is the whole grid. When selected, will create a space above the filter tabs and enable edit where user can type in to for filter and tick box for a tick column.
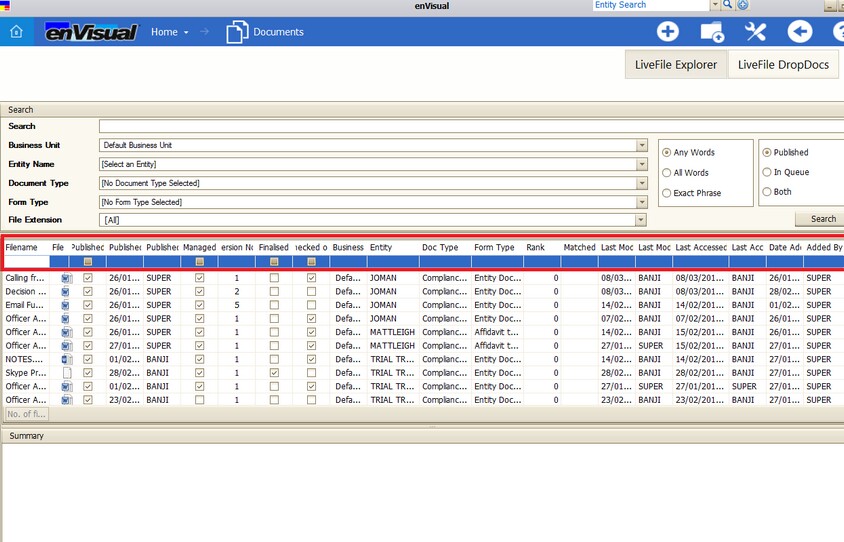
Once finished, user can right click on a filter tab and select Hide Auto Filter Row
Switch to Entity
This can only be used when multiple entities are displayed on a page. When selected will load up the entity into 360 entity bar. From there, user can then navigate to other areas of the entity selected.
Note: User can always right click at any time, select reset layout to revert back to system defaults settings to remove any/all filter changes they have carried out.