Right clicking an entry in the RoR grid gives the user many different options of tasks that can be completed. Each of these will be detailed and explained below.

Select
The Select option gives users multiple ways of selecting (left hand tick box) specific invoice transaction lines.
| • | ALL |
| • | Ready to Complete |
| • | Customer |
The 'ALL' option will select every invoice line currently displayed within the grid.
The 'Customer' option will select all invoice transaction lines that are associated with the currently selected line. This links to the 'Customer Name' column in the grid.
The 'Ready to Complete' option contains two sub options
These options are controlled by the filter shown below.

With this set to Transaction date, you’ll see it as demonstrated as it is referencing the ‘Trn Date’ column within the grid. With it set to ‘By Due Date’ it will use the due date column.
What these options do is select ALL entities that are ready to complete for the date advised. They can as easily all be de-selected by using the ‘Select NONE’ option.
For example, if I had the filter set to ‘Due Date’ in the above screenshot and then right clicked the same entity as you did, it would show ‘Ready to Complete > For Due Date 15/12/2013’ (as this is the date within the due date column). Selecting this option would then tick every RoR invoice displayed with this due date.
Alternatively, the second option will select all within the same month.
Select NONE
This option is used to quickly de-select all ticked lines within the currently displayed RoR grid.
Checked Items
This option gives the user multiple choices on completing and cancelling invoice transaction lines within the Supplier Recovery grid.
The 'Cancel' option
The 'Reinstate' option is used for canceled invoice lines and will restore them in the grid to their previous state.
The 'Complete' option will flag any ticked and fully paid line for completion. Completed items are given access to the 'Current Item' right click options discussed below. Additionally, they are provided with batch information and a batch number which can be used to quickly find these specific lines. If 5 lines are completed together, they would all be the same batch. However, if 5 lines are completed individually, they would be 5 batches.
The batch number assigned can be found in the 'RoR Batch' column.

Current Items
The options within here will become available for completed items, they allow actions such as filtering the filter to only show the batch associated with the selected line and more.
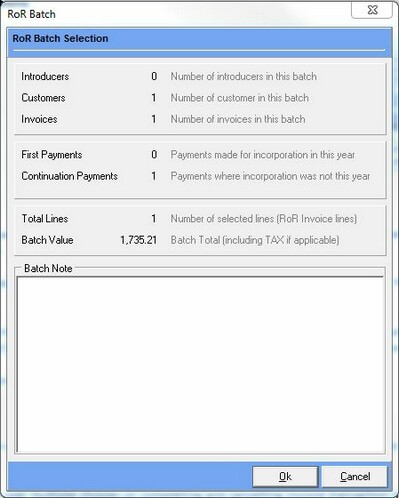
The 'Show Batch' option will display the screen shown above again, this screen will give the user an overview of the batches contained information in a read only format.
The 'Report on Batch' option will generate a report of the current batch showing all information.
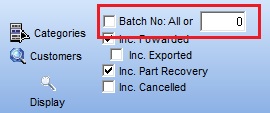
The 'Filter on this Batch' option will cause the grid to only display lines contained within the current batch, this filter can then be removed by ticking the box shown below and clicking display once again.

The 'Set/Modify Line Note' option allows a note to be added to line for referencing at a later point.
The 'Show Notes' option shows the applied line notes in a read only mode.
Grid
This option is explained here.
Columns
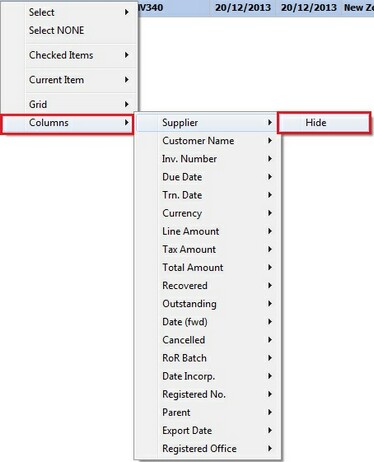
This options allows the displaying and hiding of specific columns within the RoR grid. Simply select a column name within the list and click the 'Hide' option to remove it from the display and similarly select 'Show' to re-add.
