The Entity Manager contains the centralized list of all contacts used within enVisual. Entities are considered either a person, a company or a trust. Administration of this list can be performed from each of the enVisual's modules, at convenient, quickly accessible locations throughout each module.
Entities are presented in a grid view that is secure, fast and highly customizable.
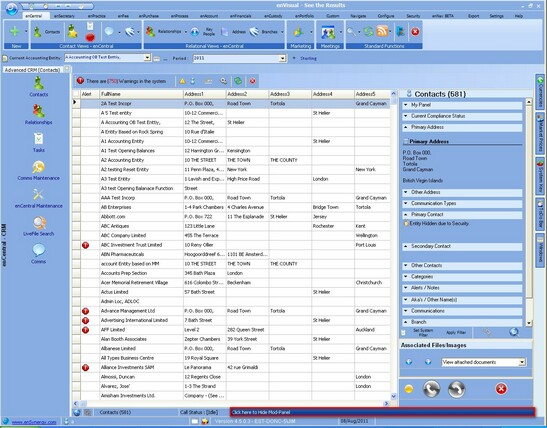
To view a different contact simply select a different row in the grid. On the right hand side of the screen the Mod panel displays more details about the contact under different headings. Toggle the highlighted button to display or hide the detail panel.
The different headings can be expanded to show more details about the selected entity. The different headings can be expanded or suppressed by clicking on the little arrows on heading.
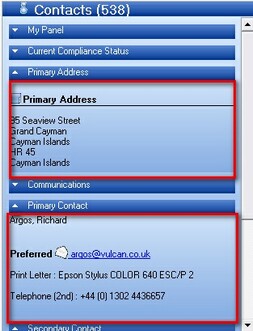
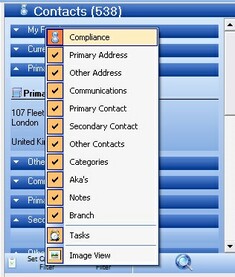
The headings on the side panel can be customized to tailor the user. The different headings can be removed by right clicking the heading and un-checking the heading that you wish to remove. Any headings that have been removed can also be re-added by this same method. Once the page has refreshed these headings will see that the heading has been removed.
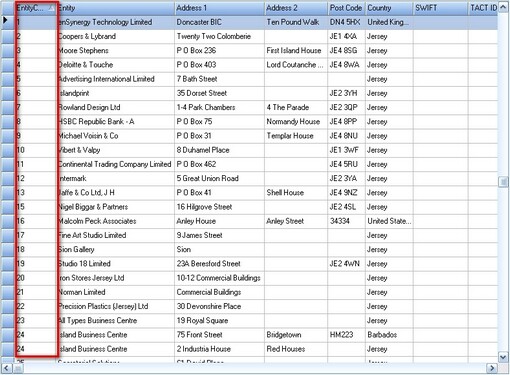
The information that is shown within the entities grid can be customized and sorted in many different ways to suit the user.
The information that is shown in the entities grid can be sorted in either ascending or descending order by clicking on the column header. When sorting columns there will be an arrow at the top of the column that is sorted, this arrow indicates if the column is sorted in an ascending or descending order. This can make finding an entity a lot easier.
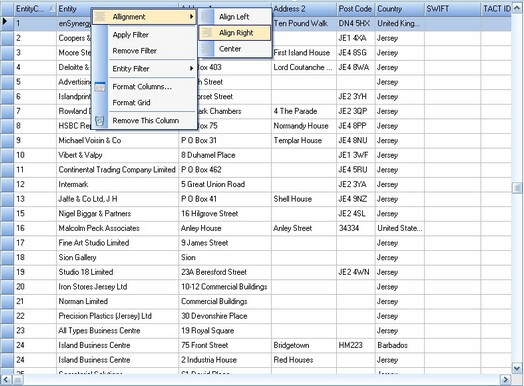
The alignment of the data displayed can be changed by right clicking on the header. Data can be aligned to the left, to the right or can be centered in the cell.
Many of the column properties for a column within a data grid can be soft set by the user. This is achieved in the following manner.
Launch the grid, in this example the company grid is used.
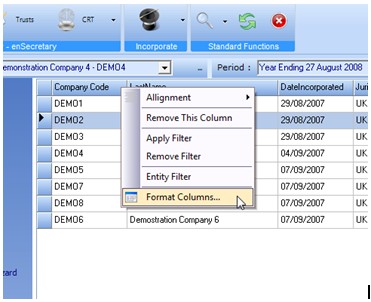
Right click on the column headings, menu options will appear.
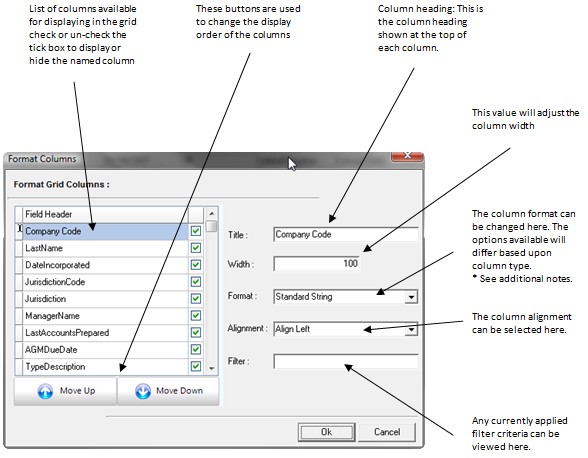
Select ‘format columns’. This opens the column properties screen and will allow editing of some of the column properties shown below:
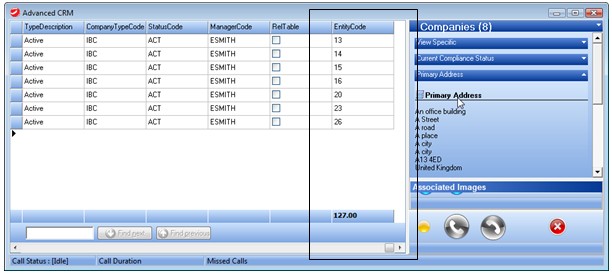
*Additional notes on format of numeric value columns. Some mathematical format options are available for numeric columns. These can then be used to display a result in the grid footer.
The grid will now display the sum value of the column in the footer.
|
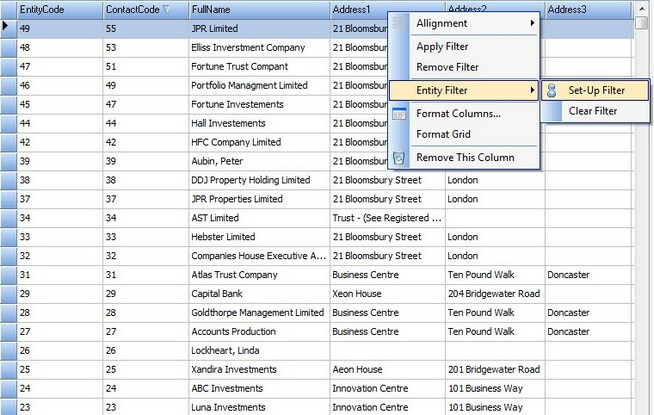
The list of entities in the grid can become lengthy at times, for these situations there is an entity filter, this can be displayed by right clicking on a column header and going to Entity Filter, then clicking on Set-Up Filter.
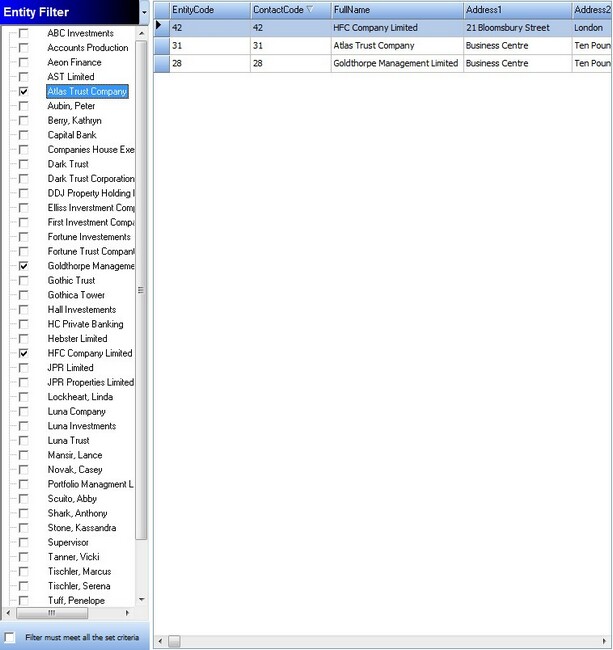
Once the Entity Filter is displayed, the user can select which entities to display from the filter on the left hand side, only entities selected will be displayed in the main grid as below.
This entity filter can be removed at any time by right clicking on a column header and going to Entity Filter, then clicking on Clear Filter.
The entities grid can also be filtered by values in any columns, this can be done by right clicking on the column header and clicking on apply filter.
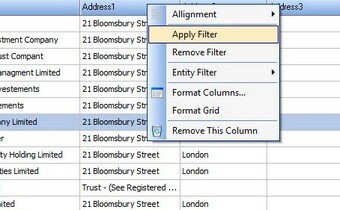
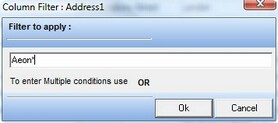
Clicking on the apply filter button will open the grid filter screen where the user can enter any filter criteria. Using the * symbol acts as a wildcard, this can be used to enter the first word of the entry and not having to enter the rest of the line. An example of this is "Aeon*" which will return all items beginning in Aeon. The filter screen is shown below.
With applying the filter "Aeon*" to the address1 column only entities with address 1 starting with Aeon will be displayed. When a column has got a filter applied to it, the column header will have a * on it next to the column name to show that it has a filter applied. A filtered entities grid will look like this.
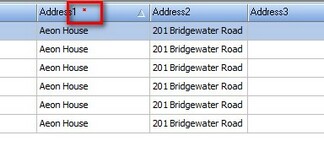
To remove a filter from a column simply right click on the required column and select remove filter.

