
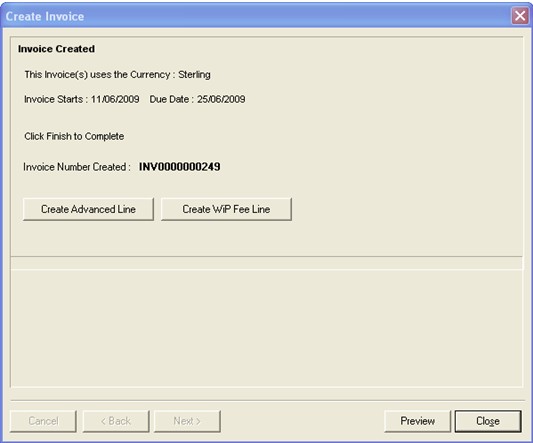
When you click on finish you will be given the option to create an advanced WIP fee line or a normal arrears WIP fee line as shown below.
The advanced fee entry form is shown below. This is based on a project, and as such must be either an activity or an expense that will eventually be recorded in WIP.
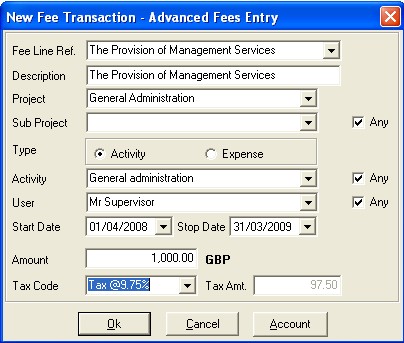
A fee line reference should be selected from the Fee Line Ref. drop down box (the data here is user defined within enPractice Billing Maintenance.)
A project and, if applicable, a sub project should be selected. If the any tick box is not checked you can only allocate WIP to that particular project, a tick in this box allow you to allocate WIP to any sub project.
If you select Activity a list of Activities will be displayed in the box below. If you select Expense the label on this box will change to Expense and a list of Expenses will be displayed in the box.
A User and an Activity/Expense should be selected from the drop down boxes, the same as above applies to the any box.
If an activity, the date fields should be completed. The form should be completed and you can click OK to add the new transaction. When the fee is posted, this transaction appears as a credit within WiP, where time or expenses may be allocated against it.
For this reason, the Any check boxes on the Advanced Fees Entry form are used to determine the range within the project (any sub project, any activity, any user) that a WiP Entry may be allocated against an Advanced Fee. This is done by dragging and dropping on the WiP Explorer. The full value of the WiP Entry is allocated, unless it is of greater value than the Advanced Fee, where the remainder is still shown as the value of the original WiP Entry.
The account button is explained in Manual Fee.