It is possible (and recommended) that when creating a query which will be re-used again and again to create a "Custom Views" shortcut. The shortcut will run the same query once it has been saved. The only compulsory item in a custom view is the "Entity Code" from the contact details. This enables the custom view to be identified internally.
Take the following query. This filters full names by three specific titles as follows:
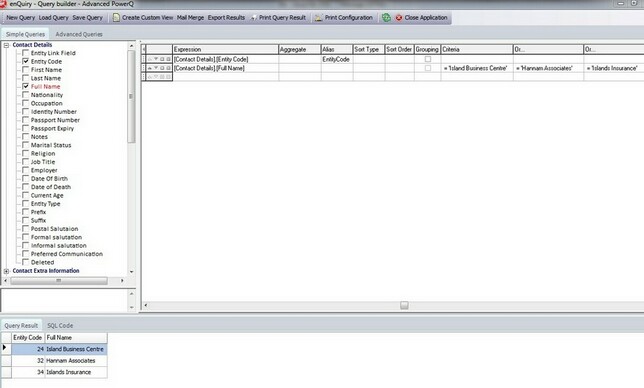
To save the query and a button to re-use the query we would click the "Create Custom View" button on the bar at the top of the enQuiry screen:

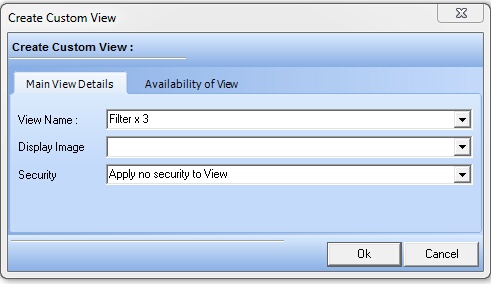
There are different settings that can be applied to a custom view. The first of these is the "View Name". The dialogue enables a new view name to be typed in or to choose the pull-down list of existing view to overwrite. In this example we will call the view name "Filter x 3" as shown in the newly displayed dialogue:
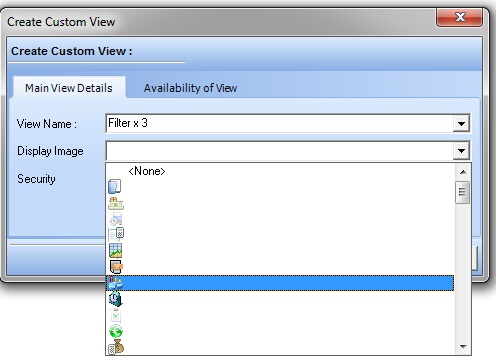
Each view can have an image associated with it for the shortcut. One can be chosen from the available list as follows:
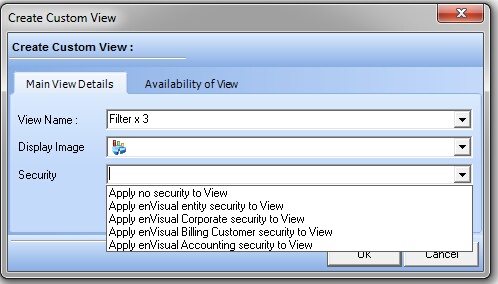
Each view has a list of associated security privileges, enabling only certain people to see what is contained in the data. The available options are shown on the "Security" pull-down as follows:
In addition to the "Security" tab it is also possible to filter a list of people or groups that can make use of the custom view. The users of the view who have access are listed in the "Availability of View" tab as shown:
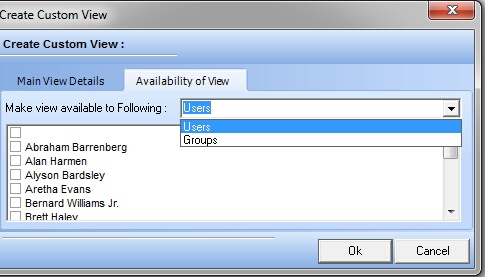
As can be seen above, the choice can be "Users" or "Groups". The users group simple lists individual people allowed access, and when the groups option is chosen the choice becomes a list of groups and they in turn can be chosen via the available check boxes.
Applying A Custom View to EnVisual
Once a custom view has been creating in enQuiry we are finished and we can return to enVisual to run the saved query.
Custom views can be found on the "Custom" tab. There is also an option to Re-Build Custom Views i.e. refresh them to the latest version. The items of interest as indicated by the following screenshot are as follows:

To choose a custom view the user chooses the image from the pull-down list originally chosen to represent the view like so:
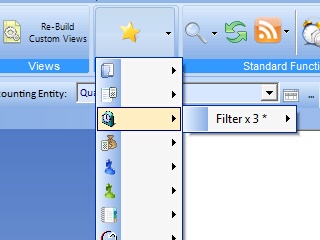
To run the view all the user needs to do is to hover over the view name, in this case "Filter x 3" to run the view and obtain the output:
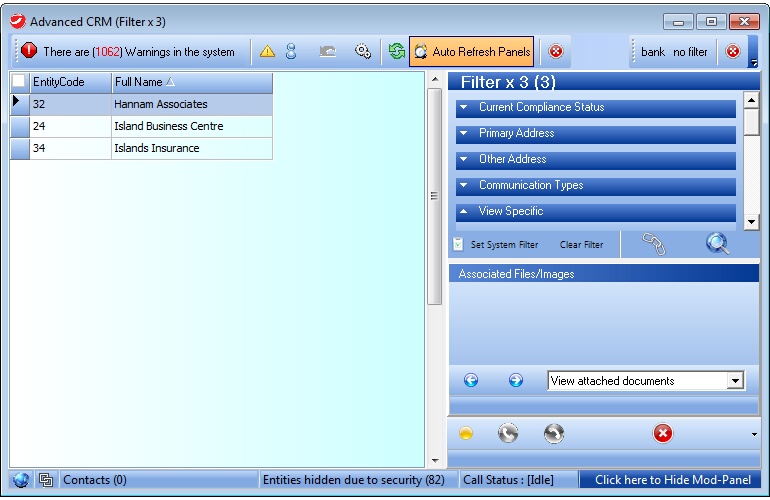
The custom view can be run any time it is required, and a list of them can be saved for specific requirements, all with their own security, user and group options.